Building a Work Table for a Ceramic Studio
This is not the workbench you want for a ceramic studio. It is a piece of plywood balanced on top of a bar stool. At least I got to the point where I could work and balance at the same time,,, however that is not the purpose of a work area (or a bar stool).

There was no way around it, I needed a sturdier table top. Step one: visit a lumber store and get some 2X4s and 4x4s. I wanted a strong table that was easy to build. Let's follow the progression:
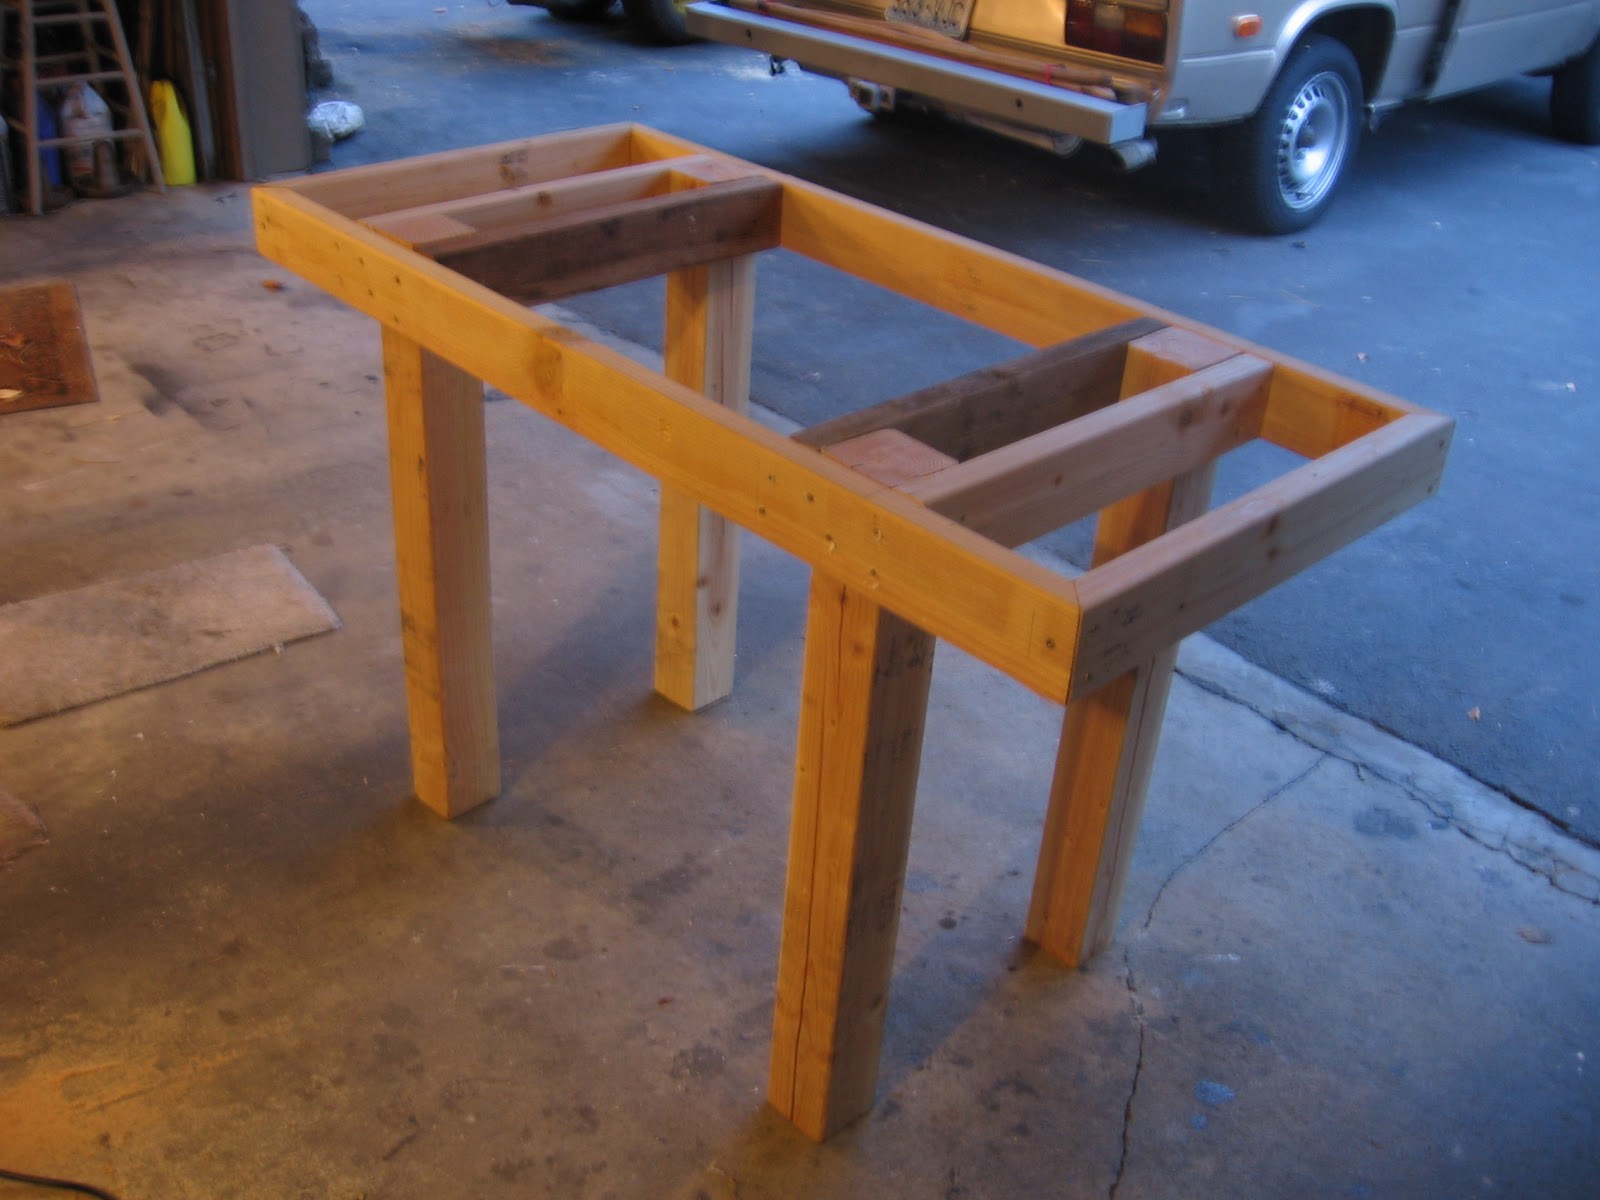
I cut the 4x4s 32 inches long. I cut the top to accept my piece of plywood. The corners are mitered and it is completely screwed together with long construction screws. Here it is assembled in my garage. Want a closer look:

This side view shows how each leg is screwed into the table frame from three sides. This makes the legs quite sturdy without additional bracing and allows me to work up close to the table on all sides. I'm going to say you could park a VW bug on top of this, "If you can find a place to stand". Here is another view:

Here you see the frame in my studio, ready for a top. You can see the hollow spaces in the frame. If you screwed a plywood "bottom" on one of these openings you could pour plaster of paris into it and make a good wedging batt for working-up clay. As I work mostly with prepared clay and slabs I don't need a wedging batt (a canvas covered board works for my purposes). Yes, that's my pack saddle in front. I packed a bit with a wonderful white donkey named Boulregard but he has gone to his just reward, and I'm guessing he had to cross a creek to get there.
You can see my slab roller and studio behind.

Top screwed down, covered with beaverboard, smooth side up. This was once the kitchen counter top of Krisitin and my cabin at Trout Lodge, then my writing table there, then a mouse house in a garden shed for 30 years, and now works great for this top. Sure glad I kept it. This shows it scootched up to the front of my clay slab roller, a great working arrangement for making slabs. I put felt floor protectors on the bottom of the 4x4 legs and the table scootches great on concrete.
It easily scootches up to my studio work table also, and that's the way I'll use it most of the time.

Awesome! Higher than the work table, lower than the slab roller. If anyone is curious my kilns are under the eve on our garage porch. Front bottom left you see three "ceramic paintings".
Well, so much for studio work tables. I suppose I could have carved legs out of logs but this works good for now. I cut all the lumber on Krisitin's "Cut off saw", but if the 4x4s had been an mm bigger it wouldn't have worked. Lesson: only buy a cutoff saw that will cut 4x4s. Being completely constructed with screws I can technically take this table apart (not sure why). My plan was that one leg was going to come out a bit crooked so I planned to unscrew it, shim it straight, and retighten it. However, my plan failed and all the legs came out parallel. Imagine my disappointment.
I promised a book review of C. E. Rusk's "Tales of a Western Mountaineer" but his words are so unique and poiniant that I simply put quotes end to end, then realized that is some sort of plagerism. Until I get that figured out (get permission from the Mountaineers???) I'll have to find something else to blog. And don't forget, "Friday the 13th" comes on a Thursday this month, compliments of Rik Smith pointing that out, compliments of "Pogo" saying it. Thanks Rik!!!
No comments:
Post a Comment