Monday, November 25, 2013

New Jars


New Jars

I have some new ceramic jars that I'd like to display here.  I also have some jars at Oak Hollow Gallery right now, and I am trying to get a dozen or so ahead for the spring Larson Gallery Artists home show.  So let's get started. 

This is a large smoke fired olla, probably constructed from Dakota Red clay, burnished and relatively naked (no stains or slips).  


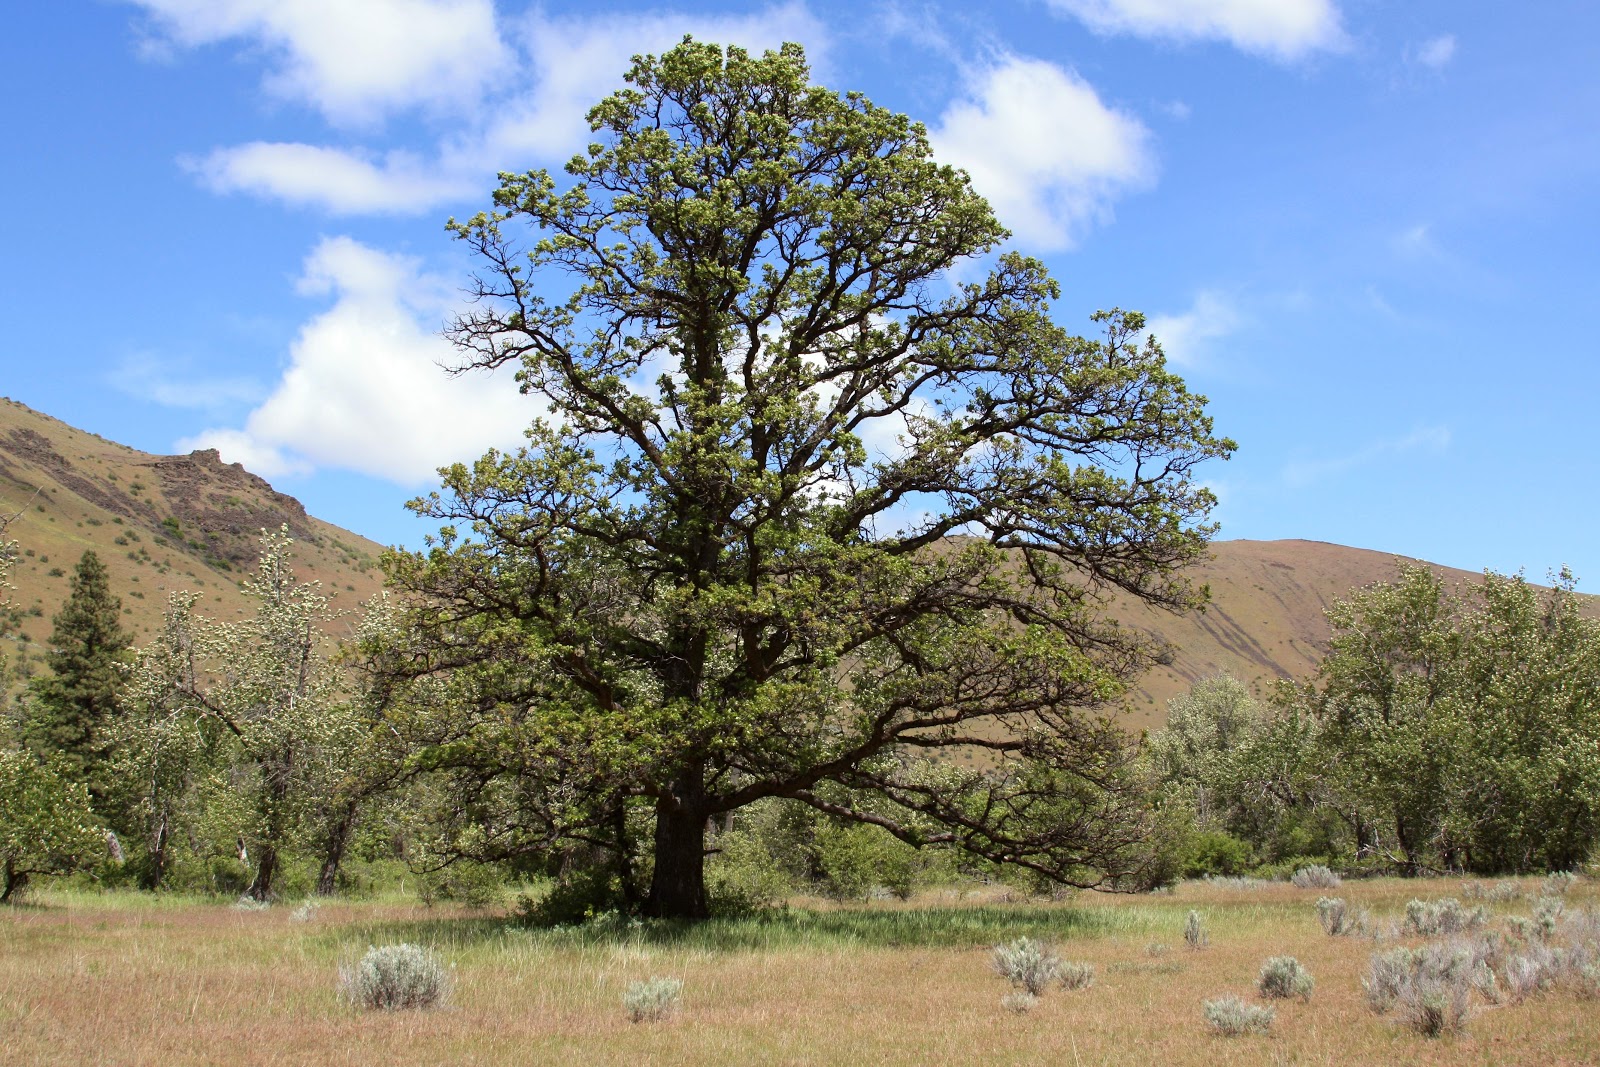
Next a traditional Olla with landscape panels and some neck decoration.  That landscape derived from some sketches I made of Umptanum Ridge, west of the Yakima River.  


and one that is a bit more/less traditional.  This jar has about all the features I look for in a large jar, including, "not so big".  


I have been ask about my inspiration, so here is a sample of the things that inspire my jars.  This painting is by Kate Cartwright, pretty cool, hunah...


Somehow, that seemingly out of place b/w square in the upper middle is the key to this piece,,,but wait, can you find the missing square?? and where the heck is the artists signature? 

This jar is relatively new.  I like the crackle and the finish of this smoke fired piece.  I call it, "Pouring Jar" because it's smooched on top to make it easy to pour liquids.  Burnt Umber is responsible for some of the brown in this jar. 


And next a jar that was fired in the same smoke fired kiln (at the same time) is somewhat similar but a lot different.  Because of the low fire Temmoku appearing glaze I call it "Ancient jar".  You get the idea even if it's only a week old: 


About time for a poem.  This one will appear someday in the "Listos" collection.  It's along the same theme as the jar above. 

Campos Triste

These are the ancient times
and all of my friends have faded into oblivion.  
I hear the seagull cry against the pounding surf
that kept us awake at Rhodes,
after a cup of hard Coffee
and an aperitif with Baudelaire,
before they swept the café clean
and turned out the lights on our wordless path.

Those lazy café waiters
and the Campaneros of Rios
called to me a greeting in the hushed dawn
where a small child carried my satchel
up the hill for a few pennys.  

The Campos and the Campos Poets
now puzzle over my small verse
before they are conquered by dust,
and your bare shoulder exposed in the darkened room
turns again before disappearing forever
from this moment.  

And to you,
in whose favor we met so many promises,
and from whom I know only myself
(in this bright tradition of days)
will yet see my form, still and lifeless,
on the battlefield

we once called Time./mh. 


---------------

Enough of the text already.  Let's look at another jar.  I did this one in the Spring of 2013 and I think I sold it in the spring Yakima Art Fest.  That or I've just lost track of it. 


Which takes care of some of my recent jars.  But let's drop back and see from where these jars came.  They all start out as red clay jars, much like a painter starts with a prepared canvas.  You may not even recognize these "Dakota Red" jars because in the next few weeks they will go through great changes to become the pots they are destined to be.  These jars are sitting on a slab roller, and the guitar on the left is addressed in a much earlier post. Usually I look at my jars for a few weeks and then one morning grab one and slap some glaze on it and/or throw it in a smoke barrell? 


One more photo and then we'll call it quits for a few days.  This piece of iron below sits in my studio.  I bought it from my old mentor packer, Bill Rennie.  He had it in his storage shed in gleed and wanted to get rid of it so I think I gave him $5 bucks, but then, that was almost 30 years ago.  $5 for a piece of iron,,, Well, it's a very useful piece of iron!!!


I usually make a promise at the end of each post, telling anyone who accidently hits this site what i'm planning to do in the next post.  Then I promptly forget what I said and instead, don't do a new post for a month or so.  In that case,  I'll post something tomorrow about Milk Weed seed, or, as my milk weed buddies say, 

"Ogala".  


Tuesday, September 17, 2013

Fluffers and gas milage


Fluffers and gas milage

A ceramic  fluffer glued to my jeep surface

It is often surprising for folks to discover just how dense and sticky the air around really is.  While we, at our normal speed of movement (approaching 3 mph) don’t notice the surrounding air, just stand in a pickup bed going 80 miles an hour, or observe the nozzle end of a vacuum cleaner and you will quickly realize that “at speed” air has an unusual ability to grab, hold on to, and pull along near by objects.   If air really was as harmless as we usually imagine then tornados and hurricanes would not be a human problem. 

When air slides over a car’s surface it grabs the surfaces and holds the car back.  If we can break this suction somehow, we can reduce air resistance and increase gas mileage.  Car designs and surface treatments, such as car wax, might help reduce surface cohesion, but often, these methods, because they stress flowing lines along smooth surfaces, really don’t help much.

Small fluffer mold for making fluffers

The only solution to breaking the suction of air to the car surface, at speed, is to fluff up the air along the surface somehow, just enough to allow the car to slip through the air with the least disruption of the stable air possible.  To accomplish this successfully, air must be “fluffed” up at the car surface in some uniform way. In other words, we want to move just the air necessary to travel through it and not push gobs of air aside as this represents “work” and results in loss of gas mileage.


Large fired clay mold for making lots of fluffers
These are slip cast but clay can also be pressed in the forms

 After studying this problem for some time my friend (nameless of course) and I have discovered a way to efficiently fluff air at the car surface.  We do this the way a shark cuts the resistance to water; by “frothing” the air successfully at the surface.  After much thought we designed the fluffers shown in this post.

The next problem was constructing enough fluffers to test this scientific Fcat  (my computer for some reason won’t allow me to type the word “fact”?? not sure why).  This post is mostly about how to construct your own fluffers from ceramic material, much like the ceramic tiles that coat space rockets.  But to move on.

formed green clay fluffers to be dried and  fired

Here is the ideal fluffer shape.  To accomplish this I made molds of thick clay slabs.  These forms of mine are fired in a ceramic kiln at 1835 degrees f, the standard bisque clay temperature, utilized through out the world and clay classrooms. 

Any clay student can then hand press clay into the forms or pour clay slip and allow it to dry.  In either case, the dry bisque form will “release” the puppy fluffer (in it‘s “puppy” state) for firing, again at bisque temperatures. 

A single fluffer glued to a car, not much effect!

Next the fired fluffers must be glued to the car in an organized manner.  We have solved this problem with silicone glue.  Works great.  The fluffers must be glued in an organized pattern all over your car in such a way as to distribute the fluffing evenly.  I estimate that it will take about 40-60 fluffers per car.

Now for the final glue on.  Find a willing friend and glue the fluffers in place.  You should have no problem as this will almost certainly result in improved gas mileage, even for a Geo metro or other small car that has difficulty reaching 100 mph. 

and, a closer shot

DISCLAIMER:  as of today, in-spite of the great idea presented in this post, I still haven’t found a friend who will let me glue fluffers on their car.  Well, I’ll do a follow up post just as soon as that happens.  

I hope you like this post, it took almost 6 months of “R & D’ to develop this remarkable idea.  We think it would work most effectively on race cars, gopher vacums, and hand held tornados.  Any ideas you might have to further the “fluffer” are appreciated, and professional “fluffers” are ask to not join in on this electronic interchange.   


Garry oak in ieton Canyon, photo compliments of Jo Miles

Anyone can observe that if a tree, like this Garry oak In Tieton Canyon, had to sustain wind forces based on it's square foot cross section, they would fall down at the first gust.  However, the individual leaves break up the moving air (fluff it) and reduce the drag of the wind through the willows.  Without leaves, a tree would topple over almost as fast a leaves without a tree, or as we always say, "if there are more trees in a forest than leaves on any tree, than there will be at least two trees with the same number of leaves".  Not sure what that proves???  Oh well, stay tuned for an actual magazine review in a week or so, you'll like it!!!


Friday, March 15, 2013

Spin-Off Magazine articles for potters


Spin-Off Magazine as it relates to Ceramics;
Spring 2013 Issue


Although I have had a few book reviews on this site I've never reviewed a magazine edition, so this is going to be a bit different.  Because I make drop spindles, I started subscribing to Spin-Off Magazine a few  years ago.  It has one article each month on a breed of sheep, the history of the lineage, the characteristics of the animal, and other interesting facts.  After reading the sheep article every quarter, I am determined (for a few hours) to go out and get some Gotland, or Jacob Cross or some other breed of sheep right away.

The spring, 2013 issue of Spin-Off Magazine is somewhat unique, though not unusual.  In this issue the editor, Amy Clarke Moore concentrates on the small business aspect of the cottage industries around the fiber arts craft and trade.  At t his point Ceramics artists have a lot in common with their brethren (and sisters I imagine) in the fiber and spinning crafts.  Both groups of craftspeople need a fairly specialized studio,  both groups have a challenge in finding customers and figuring out what the customers want, both groups have a hard time determining the price to charge, how to market their wares, and how to run a small, cottage industry style business. 

Alpaca hand spun yarns plus some color

So, I’m writing this review primarily aimed at ceramics artists because if you are a fiber person you probably already subscribe to Spin-Off (one of a number of magazines and books published by Interweave Press (interweave.com).  Lets look at three articles in the Spring/13 edition of Spin-Off and if you want more info on the actual articles I’ll end this post with a description and links


Page 16 of this edition has an article titled “Handmade: Business or Hobby” (By Patti Graver).  Right off a ceramic artist will notice the title and I can assure you that any one who attemps to sell ceramics or crafts from a home studio will find this article interesting. Patti reviews four books and I’m going to simply list the titles here to illustrate how all of these books have points of interest specifically for ceramic artists.  They are;
(1) “How to Price Crafts and Things" by James Dillehay,
(2) “How to Sell your Crafts Online” by Derrick Sutton,
(3) “Grow your Handmade Business" by Kari Chapin, and
(4) “”How to Make Money Using esty” by Timothy Adam. 

Finally, a drop spindle, left back, and a smoke fired jar

The second interesting article in this  edition is “At Hellow Yarn” by Adrian Bizillia.  It talks about a fiber business and had lots of tips about developing a studio plus the struggles and triumphs of developing a small, crafts centered business.  This article is inspiring!!! Again, Ceramics artists will find lots here of interest.

The Third article is “So You want to Start a Business” by Liz Gipson.  I don’t have to give much description to convince any crafts or ceramics artist that there will be some interesting information here. 

I think this hat is still at Oak Hollow Gallery, 
a blend of hand spun tops and socotta sock yarn

Next article is “10 tips for Starting a Custom Spinning Business" by Kaye D. Collins.  Substitute the word “home ceramics” for Spinning” and you get the idea.  The "10 tips" are a good working list of things to remember in starting any small business and some pertinent discussion of each. 

The rest of the articles are all dealing with fiber crafts business approaches and I found them all interesting, particularly the ones about labeling and mail ordering.  And the sheep specific article in this issue is about the lovely Shetland sheep, amix in a diverse flock.  Also, if you’ve ever worn clothes (and potters aren’t the best audience on this one) you’ll be amazed at the access and information in the advertizements and business listings throughout all issues of Spin-Off. 

Hand spun hats knitted by Pat Moran

If you want to get this copy of Spin-Off, or find more about Interweave magazines and books contact “spinoff.com” or <http://interweave.com/Magazine/> or find an older copy of Spin-Off and visit one of the yarn shops that handles the magazine.  You can buy individual copies of spinoff, subscriptions, or books from this amazine outfit.  

Ceramics, fiber,,,, can't really tell the difference? 


Tuesday, March 5, 2013

VW Vanagan, testing pressure cap


Testing the coolant pressure cap 
on a water cooled VW Vanagan

WATER COOLED VANAGANS (1984-1990) can drive you crazy when the coolant system malfunctions as the resulting system peculiarities are not easy to diagnose.  However, one thing you always know: If you pressure release cap is not working (almost perfectly) you are going to have all kinds of coolant problems, too numerous to detail here.  Let’s just say if the pressure is to high you’ll get leaks and fluid loss, and if it’s to low the system won’t cool efficiently. 

coolant pressure cap, getting ready to test

After buying a new pressure cap that didn’t seem to work properly I resorted back to my parts box and found four more old caps of various vintages.  One came on the van used, one was a new replacement three years  ago, one I’d just bought, , one clearly didn’t hold pressure, and the last one was an extra of unknown origin and function in my parts box.  I started switching them in and out for short trips and discovered that I got all kinds of different engine behavior with the different caps, indicated by leaks and illogical coolant reservoir levels.  I therefore needed a way to measure the pressure of the caps myself.  Of course VW service shopswill do this for a fee, but I wanted the flexibility of testing the caps on the van once I knew what they were. 


 Here is my custom pressure cap tester:  Find an old Vanagan (or other VW  pressure tank) for this project.  The vanagan pressure cap must fit the  screw-on filler cap hole and screw in tight.  Into one of the side hose holes adapt a water pressure gauge that goes to 30 lbs. On the other hole adapt a garden hose connector outside of a water valve, preferably 1/2'”.

water flowing out of the cap nozzle at a determined pressure

Test the cap as follows:  Hitch up and turn on the garden hose with the valve off,  screw in the cap to be tested, slowly release the valve watching the nozzle on the cap. It will probably dribble a bit for a while and then start full release at some pressure.  Note the pressure when the dribble starts and when the full stream starts,,, those are both important functions.

gauge working, water flowing, check pressure

 When the engine cools, the coolant contracts and pulls coolant back into the engine.  There is no tester for this return function,,, simply notice if coolant sets at a lower level in the overflow tank when the engine is cold then when it is hot. If that happens the return feature of your cap is functioning adequately for our purposes. Four of my five used caps perform this important function so most caps return coolant to the system when cooling.

cap working, gauge indicates pressure, water valve shown

Water not flowing at 25 pounds, cap clearly malfunctioning

The water can start dribbling before 14 pounds and in fact, It’s my  opinion that it should start to dribble at 10 pounds or so.  Keep turning up the water and the full stream should commence out the cap spout before 17 pounds.  If it goes higher for a full stream, the cap will probably cause problems in the form of leaks.  Discard all caps that don’t’ hold pressure or that hold pressure to a release point above 17 pounds.  If your van is old you want lower release pressure, but still some pressure.  If you engine is rebuilt, you can go as high as 17 pounds for release but not higher.  Test all new caps before you install  then (I found new caps that malfunction).  If you can’t get a cap that works correctly, buy some used ones from a wrecker yard, test them and install the best one.  As you can see, it took me 5 caps to find one that works on my van.

I dont' have a picture of a cap that opens at a pressure below 14 pounds but you get the idea.  Our van (L'l put-put) has run perfectly since I installed the "mikehilerfiredclay certified cap".  The beauty of this tester is it tests water pressure for cold water.  I dont' like the official VW tester as it doesn't test the pressure the cap starts to dribble.  

Hope you liked this post, it was fun to put the pressure tester together with spare parts laying around (had to buy the 30 lb water gauge).  If  you need help putting the tester together, just read the post again and talk to your mechanic.